Add a User in IoTKinect Tracking System
Guide to Add a User in IoTKinect Tracking System
1. Navigate to https://track.iotkinect.io/
2. Login To Your Administrator Account

3. You will be redirected to you Dashboard

4. Click on "Admin" Button

5. Click on "Users" Button

6. Click on "Add User" Button
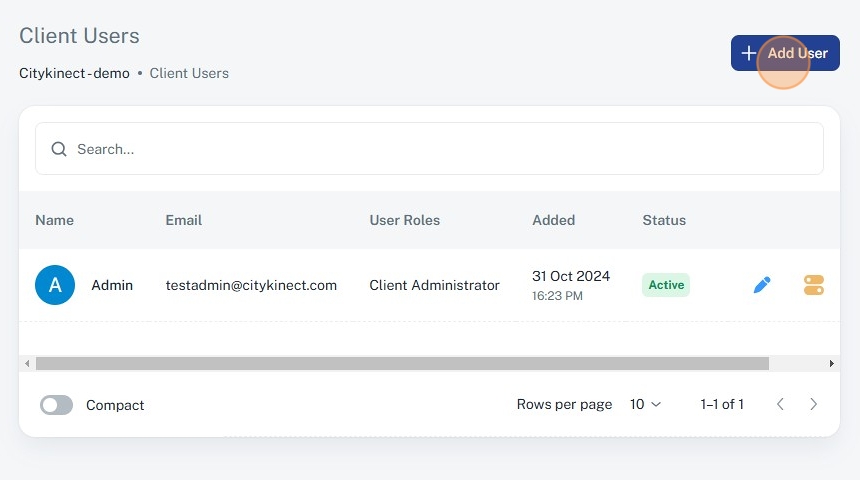
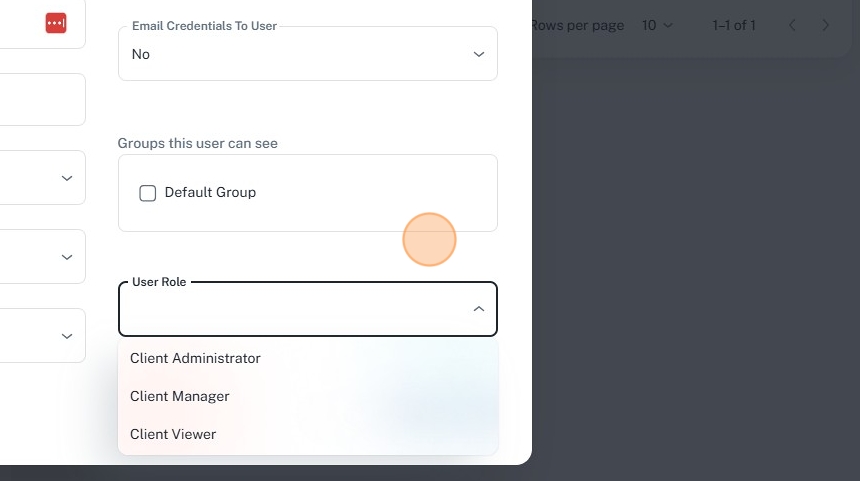
7. Enter Name, Email and Other Required Information. You can also assign specific groups to users.

8. Click on User Role button

9. Select role for the user you are creating
10. Click on "Save Changes" and your User is now been created.

Related Articles
User Roles & Permissions
Users Roles and Permissions allow for setting specific privileges that define what users can view and do within the app. Default Roles: By default, the app provides three roles, and additional custom roles can be created based on specific ...How to Add Beacons
The simplest method to add a driver to the platform is by using the Add Asset Wizard. Steps for Adding a Driver: Configuring the Web App: Ensure the driver appears under the correct client with the desired name. Setting Up the Hardware: Configure the ...How to Create a Alerts in IoT Tracking Dashboard
1. Navigate to https://track.iotkinect.io/dashboard 2. Click on "Alerts" 3. Click on "Create Alert" button 4. Assign Name to Alert 5. Select Single or Mutiple Assets as required! 6. Click the "Show All Supported Events" field. 7. Click on Triggered ...Using the Same Email Address for Different Logins
If you receive the error message "The user already exists" while trying to add a user account, it means the email address is already associated with an existing account on the platform (e.g., another reseller, client, or external contact). Solution: ...Device Setup Guide
To successfully point your device to our servers, follow these steps: 1. Server Address Tracker Destination: Point your trackers to the following server address: track.iotkinect.com 2. Port Port Information: Determine the correct port for your ...